How to import Google Photos into PhotoStructure
If you’d like to take the photos and videos that you have in your Google Photos account and import them into your own PhotoStructure library, the best way to do that is with a Google Takeout.
📦 Step 1: Create a new “export”
First, open https://takeout.google.com/.
If you have multiple Google Accounts, make sure you’ve selected your correct account in the upper-right corner of the screen.
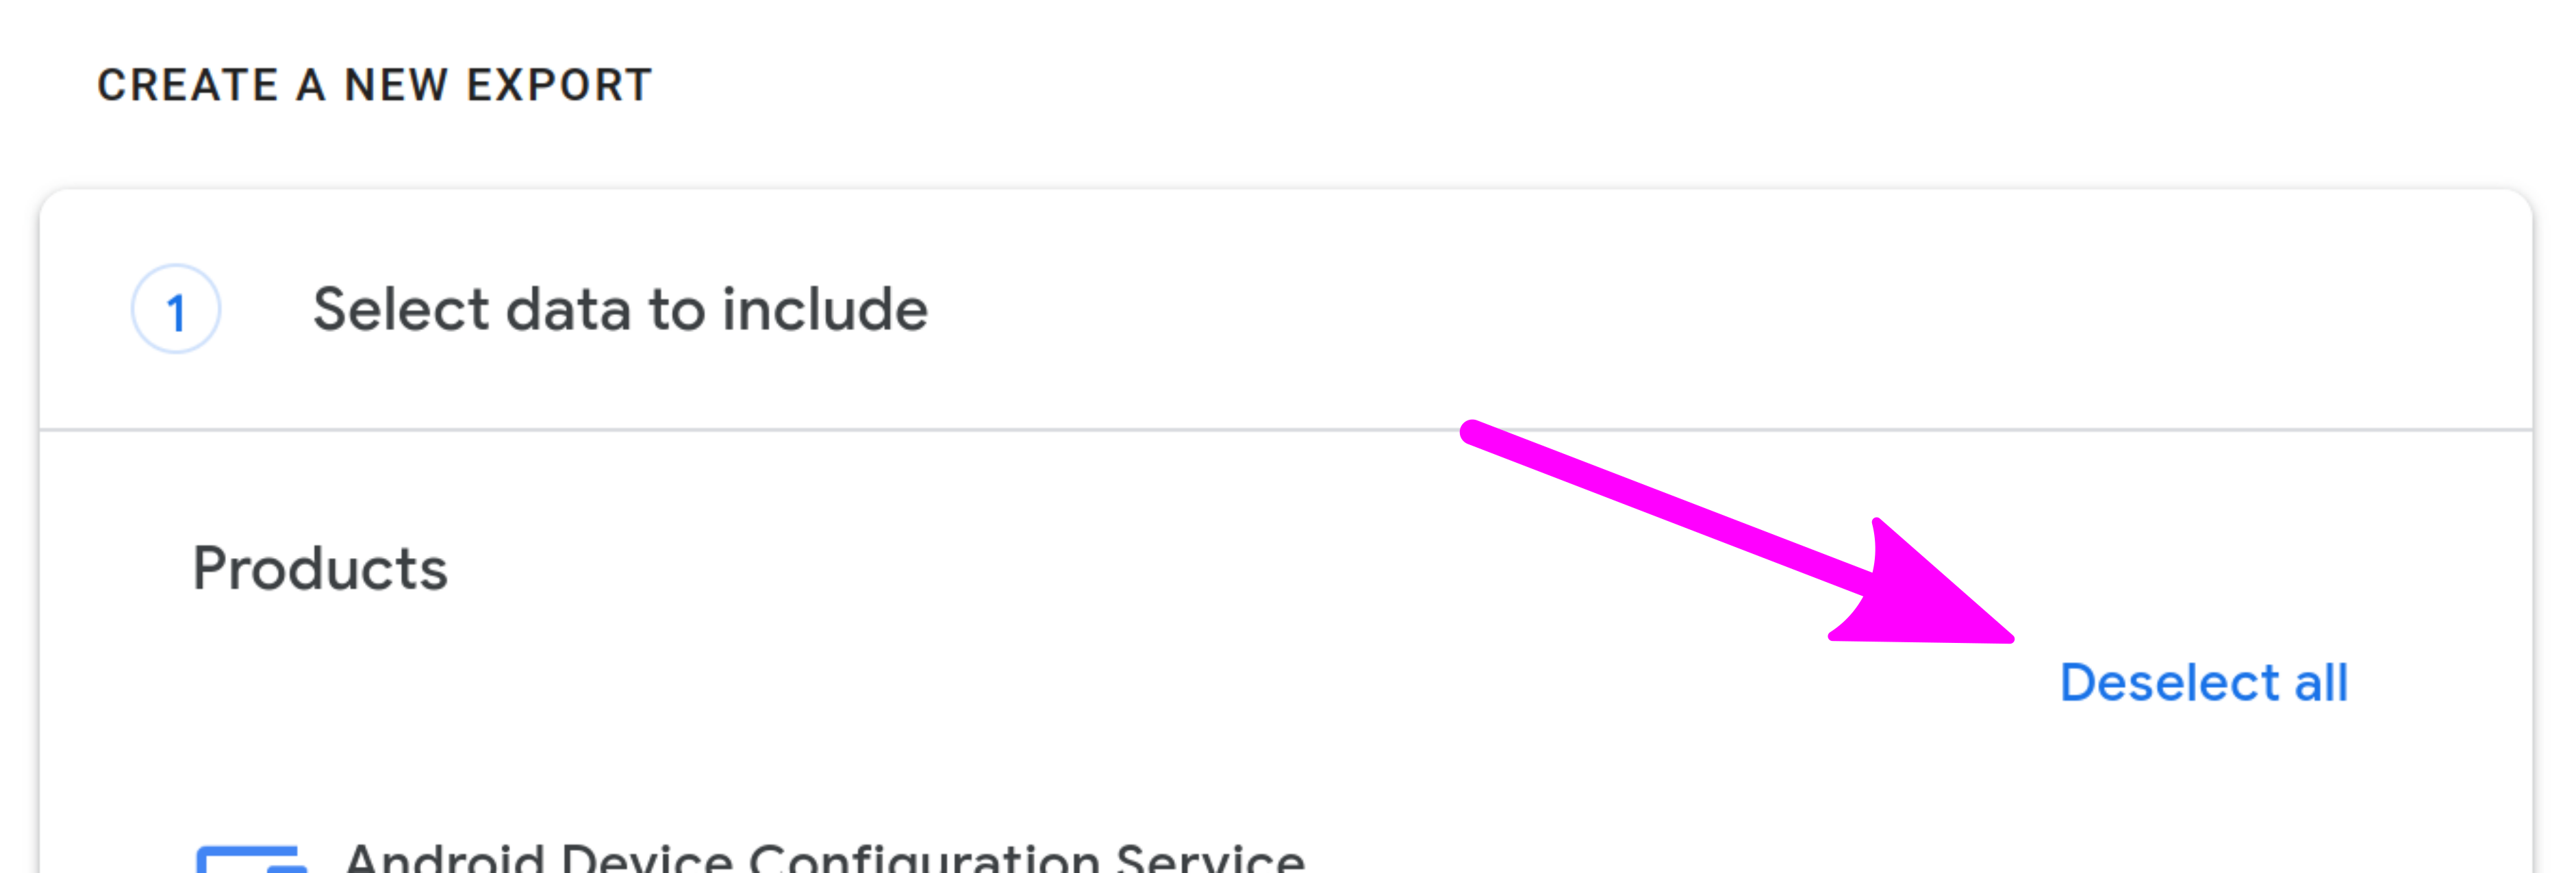
All Google products will be selected, but we just want your Google Photos, so click the “Deselect all” button.
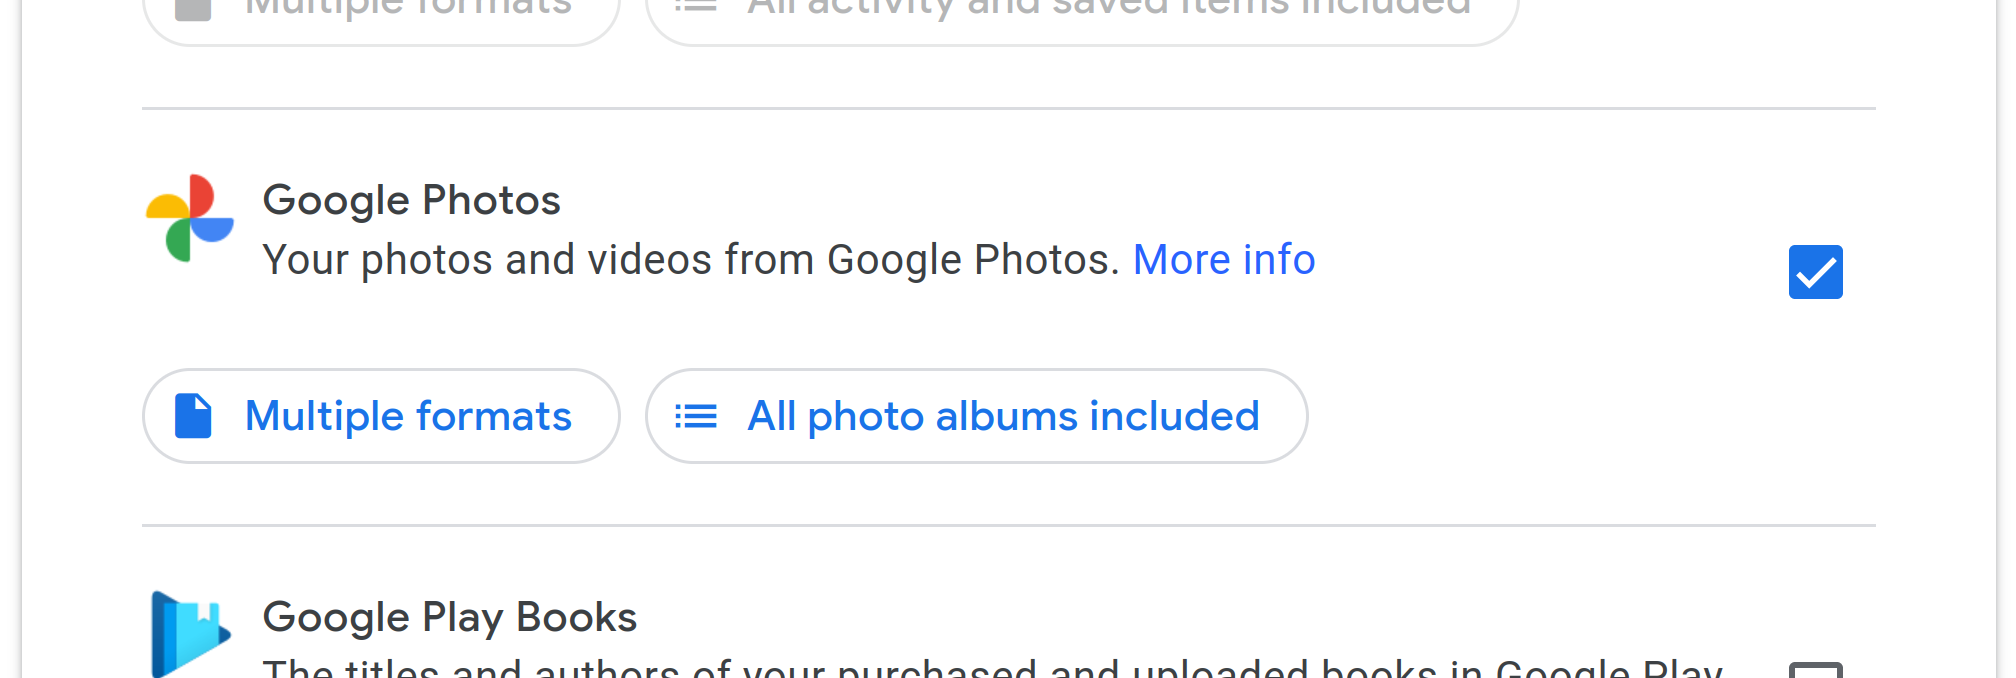
Then scroll (about half-way) down to Google Photos and click the checkbox:
Scroll to the bottom of the page, and click “Next step.”
In the “Choose file type, frequency, and destination” section, pick “Export once”.
For file type: if your Google Photos library is large (> 100GB), you should use
.tgz. Windows users can use the free software 7zip to decompress these archives. Always check any installer for viruses first!For size: know that larger archives are more convenient, but have a higher chance of failing due to network hiccups. On a residential cable network rated at 600Mb/s, I found that 50 GB archives failed often enough to resort to 10 GB archives.
After you click “Create export,” expect to wait many hours (or days!) before the archive is ready.
📥 Step 2: Download the export
You’ll receive an email once your archive is ready. I found the Takeout site didn’t work well with Firefox: you may have better luck with Chrome.
You may find that your downloads fail halfware through if you fetch more than a handful of archives simultaneously. For reference, my residential cable modem worked find with 5-8 simultaneous downloads, but had failures with more than 15 simultaneous downloads. Your mileage may vary.
📂 Step 3: Decompress the export
Google Photos archives may split your albums across several .zip or .tgz files, so only portions of the files or metadata will be available if you only look at one .zip or .tgz file at a time.
The solution is to decompress all the archives into a single common directory.
Simple way: actually decompress the contents
On Linux, open a terminal in the directory that contains all the takeout-XXXX.tgz files, and run:
for i in takeout*.tgz ; do tar xzf $i ; done
Fancy way: use ratarmount
Rather than using up twice the disk space to extract all the files in your takeout, you can use ratarmount to “virtually decompress” your archives.
After installing ratarmount, open a terminal in the directory that contains all the takeout-XXXX.tgz files, and run:
ratarmount --strip-recursive-tar-extension --recursive *.tgz ~/Takeout
This command will take a bit to read through the TAR files, but when it completes, a “virtual” directory (in the above example, ~/Takeout), will contain all the photos and videos in your Takeout (and not use any extra disk space!)
See this comment thread for more information.
⚙️ Step 4: Point PhotoStructure at your archive
Open the settings page, and add the Takeout directory that you just extracted (or mounted) to the “scan paths” section, and click Save. PhotoStructure will then import your Google Photos.
🏷️ Extra credit: Name parsing
PhotoStructure has extensively configurable name parsing for “Who” tags extracted from face regions and Takeout JSON sidecars. See the complete name parsing guide for details on formatters, name order, international names, and all available settings.
Questions? Comments? Ask in the forum!
